Tutorial 1: Installing Jupyter Notebook
3. Create a Python environment
3.1. Create pyWaPOR environment
To install the pyWaPOR environment, go to your Miniforge Prompt and type
mamba create -n pywapor_env pywapor jupyterlab geopandas
Once the prompt below popped up, type Y then ENTER to confirm installing new environment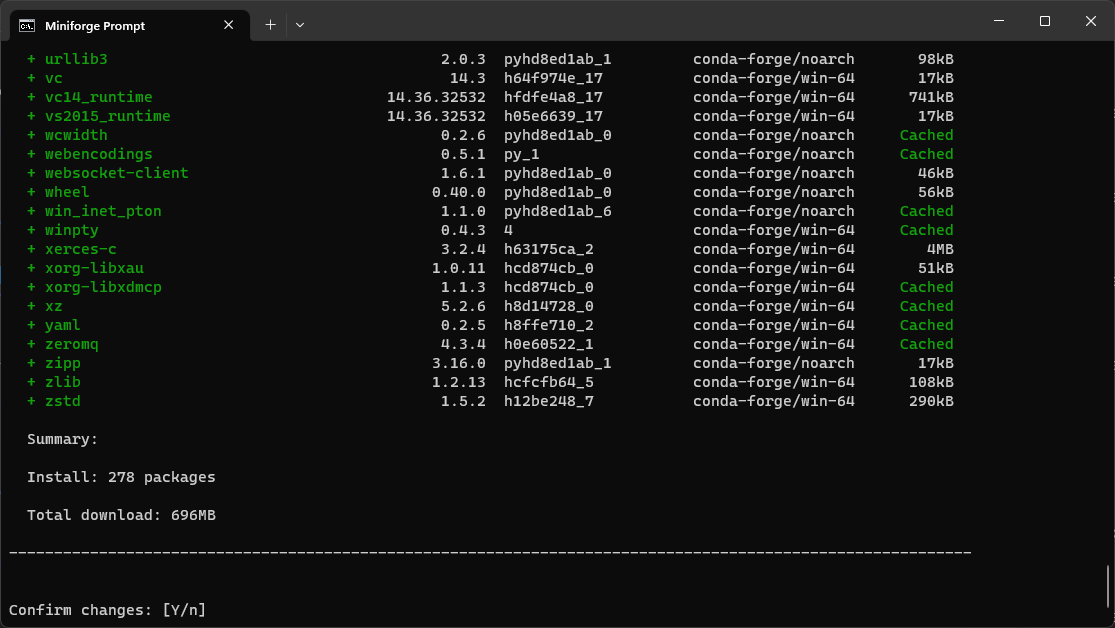
After mamba finished downloading and installing, activate the environment by typing
mamba activate pywapor_env
To start jupyter lab type:jupyter labWith this command, you will open Jupyter Lab in your web browser application. See below for an example of JupyterLab interface and the explanation of its components.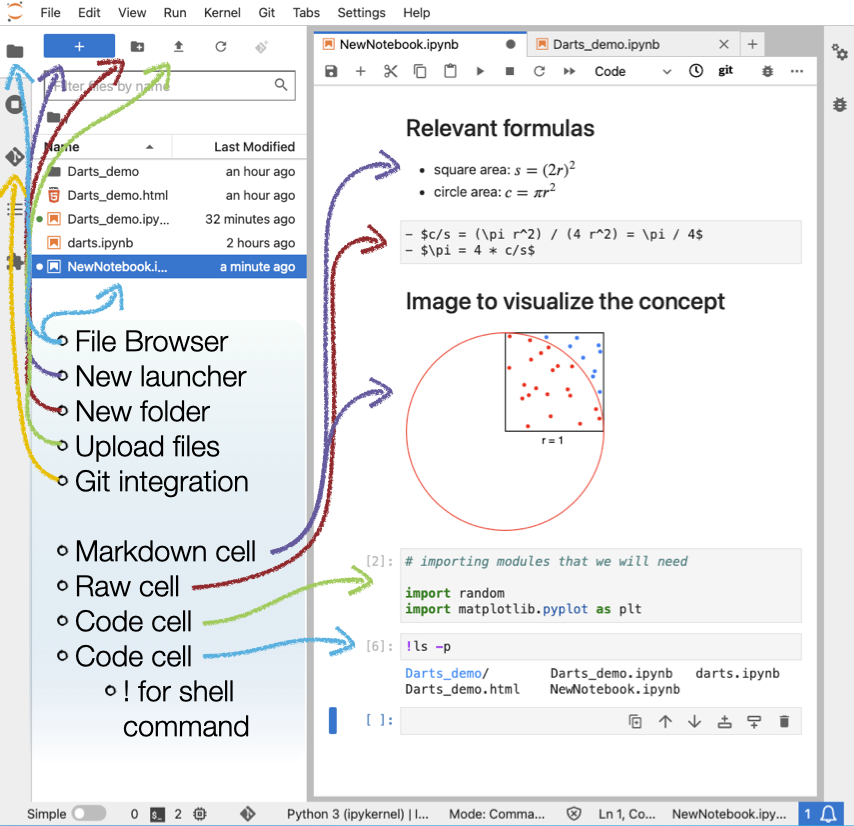
(© Copyright CodeRefinery team)
Now, you're ready to go to the next step Tutorial 2: Running pyWaPOR for test case, in which you will create your first Jupyter notebook to run pywapor!
------------------------------------------------------------------------------------------------------------------------
If you're interested in running WAPORMOOC notebooks, you can follow this steps: Create WaPORMOOC environment.
If you're interested in more examples of Jupyter notebooks, follow this link More tutorials using Jupyter Notebooks.