Tutorial 1: Running pyWaPOR for test case on Google Colab
3. Run PyWaPOR test case in Jupyter Notebook
In this step, you will create new code cells that run each step in pywapor. For the test case we selected the Wad Helal area, which you should be familiar with from the MOOC ‘Python for Geospatial Analyses using WaPOR Data’.
In this exercise, the code to run this test case is written. You will copy the code of each step, paste into a new code cell and run it. When running each cell, observe the outputs printed out. After each step, you need to check the outcomes to make sure that the results are created.
For each numbered item below, create a new code cell in JupyterLab (shortcut: B), copy the code to the cell and run it (shortcut: SHIFT + ENTER).
Step 1: Install and import pywapor package
!pip install pywapor import pywapor |
This code will import pywapor package to the current python kernel.
Step 2: Set up project for the test case
project_folder = r"Test_case" #Path to folder bb = [33.1479429498060583, 14.2657100971198449, 33.2874918465625242, 14.3487734799492763] # [xmin, ymin, xmax, ymax] #Wad_Helal period = ["2023-03-01", "2023-03-02"] # Set up a project. project = pywapor.Project(project_folder, bb, period) |
This code creates a new project folder for the test case, named "Test_case", defines the bounding box (minimum longitude, minimum latitude, maximum longitude, maximum latitude) of the test case (i.e., Wad Helal), defines the time period that model will run. For this test case, we will run the model for only 2 days as an example (i.e., the first two days of March 2023).
Step 3: Configure input dataset
summary = { '_ENHANCE_': {"lst": ["pywapor.enhancers.dms.thermal_sharpener.sharpen"],}, '_EXAMPLE_': 'SENTINEL2.S2MSI2A_R20m', '_WHITTAKER_': {'SENTINEL2.S2MSI2A_R20m':{'method':'linear'}, 'VIIRSL1.VNP02IMG':{'method':'linear'}, }, 'elevation': {'COPERNICUS.GLO30'}, 'meteorological': {'GEOS5.inst3_2d_asm_Nx'}, 'optical': {'SENTINEL2.S2MSI2A_R20m'}, 'precipitation': {'CHIRPS.P05'}, 'soil moisture': {'FILE:{folder}{sep}se_root_out*.nc'}, 'solar radiation': {'MERRA2.M2T1NXRAD.5.12.4'}, 'statics': {'STATICS.WaPOR3'}, 'thermal': {'VIIRSL1.VNP02IMG'}, } project.load_configuration(summary = summary) |
This code will configure the input datasets for this test project. All the information about sources of input datasets and methods to pre-process input data is defined by the variable 'summary'.
There are also options to run pywapor with the default set of inputs used for WaPOR data products. In the class, you will learn more about different default and customized pywapor configurations and what each line in this code means.
Step 4: Set up account credentials to download data
project.set_passwords() |
This code will prompts you to put in the user accounts and passwords that are required to download the configured input datasets. Use the user account and password that you created in the previous step: Create user accounts. For this test case, you will need to enter the username and password of NASA Earthdata account, and the email address and password of Copernicus account. Other accounts are used for when you want to run pywapor with other datasets.
Step 5: Download data
datasets = project.download_data() |
This code will start the process of downloading input data for pywapor. Since you're running this notebook on Google Colab, the data will be downloaded to your Google Colab virtual machine. The amount of time for downloading data depends on the period and area (and indication is that for the Wad Helal area it takes less than 30min to download 2 days of data).
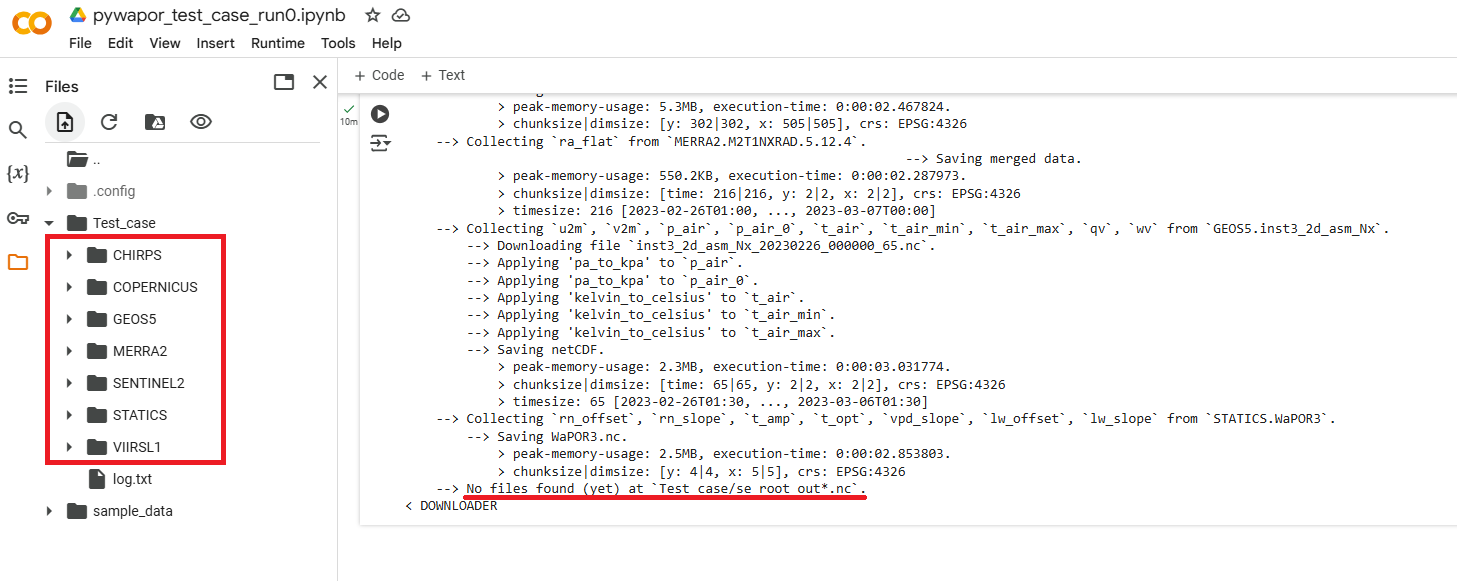
After this step, if all data is downloaded successfully, you should find these input folders in the Files panel on the left (To open this panel, click on the folder ![]() icon):
icon):
Note:
- The se_root_out*.nc file do not need to be downloaded at this step, because we are using a model to calculate root-zone soil moisture. Therefore, you can ignore the warning "No files found (yet) at 'Test_case/se_root_out*.nc'".
- If there is any other file not found or error messages shown at this step, it means the required inputs have not been downloaded completely (due to connection or server errors). You will need to re-run this cell.
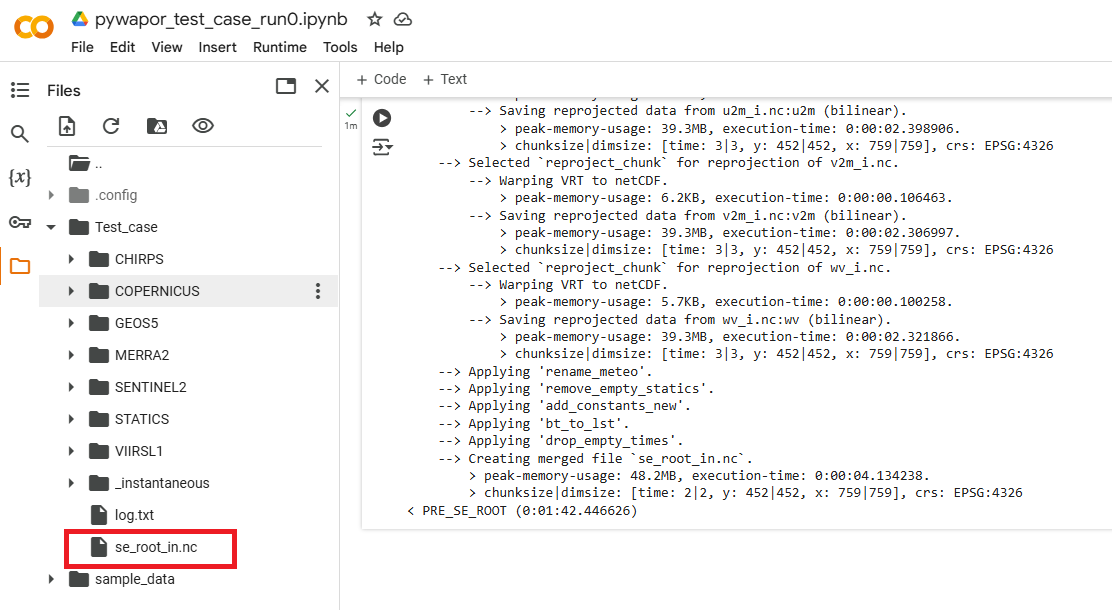
Step 6: Pre-process input data for rootzone soil moisture model
se_root_in = project.run_pre_se_root() |
This code will pre-process downloaded data into format compatible with se_root model.
If this step is completed successfully, you should find the file se_root_in.nc in the project folder:
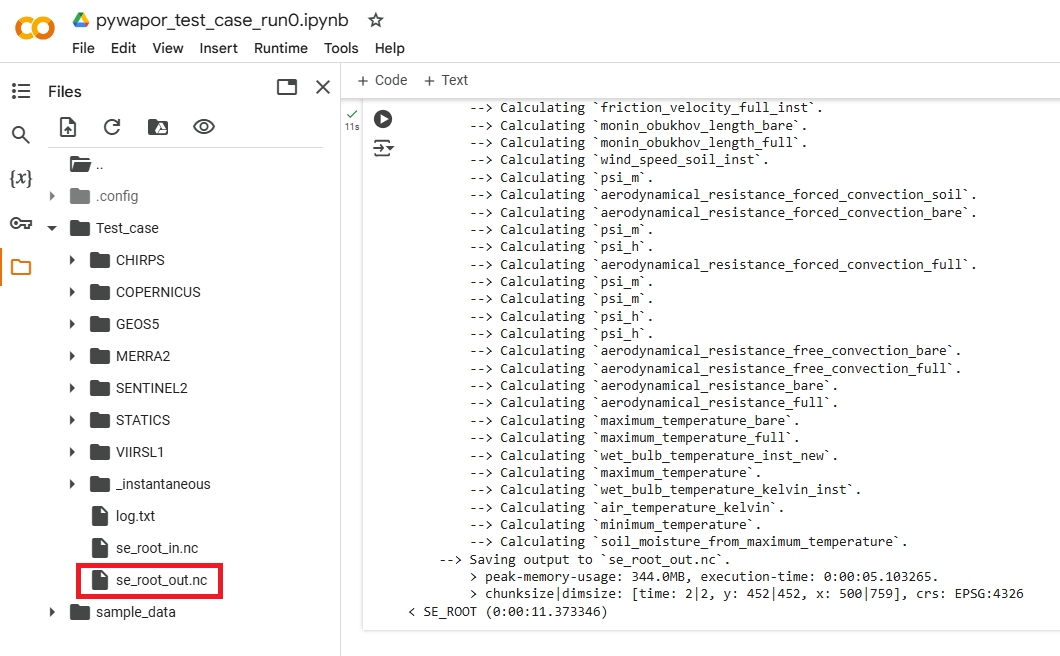
Step 7: Run the rootzone soil moisture model
se_root = project.run_se_root() |
This code will run the se_root module to calculate root zone soil moisture, which the an input to calculate evapotranspiration.
If this step is completed successfully, you should find the file se_root_out.nc in the project folder:
Step 8: Pre-process input data for etlook model
et_look_in = project.run_pre_et_look() |
This code will pre-process downloaded data and se_root_out.nc into format compatible with et_look model.
If this step is completed successfully, you should find the file et_look_in.nc in the project folder:

Step 9: Run etlook model
et_look = project.run_et_look() |
This code will run the et_look module to calculate evaporation, transpiration, interception, and net primary production.
If this step is completed successfully, you should find the file et_look_out.nc in the project folder:
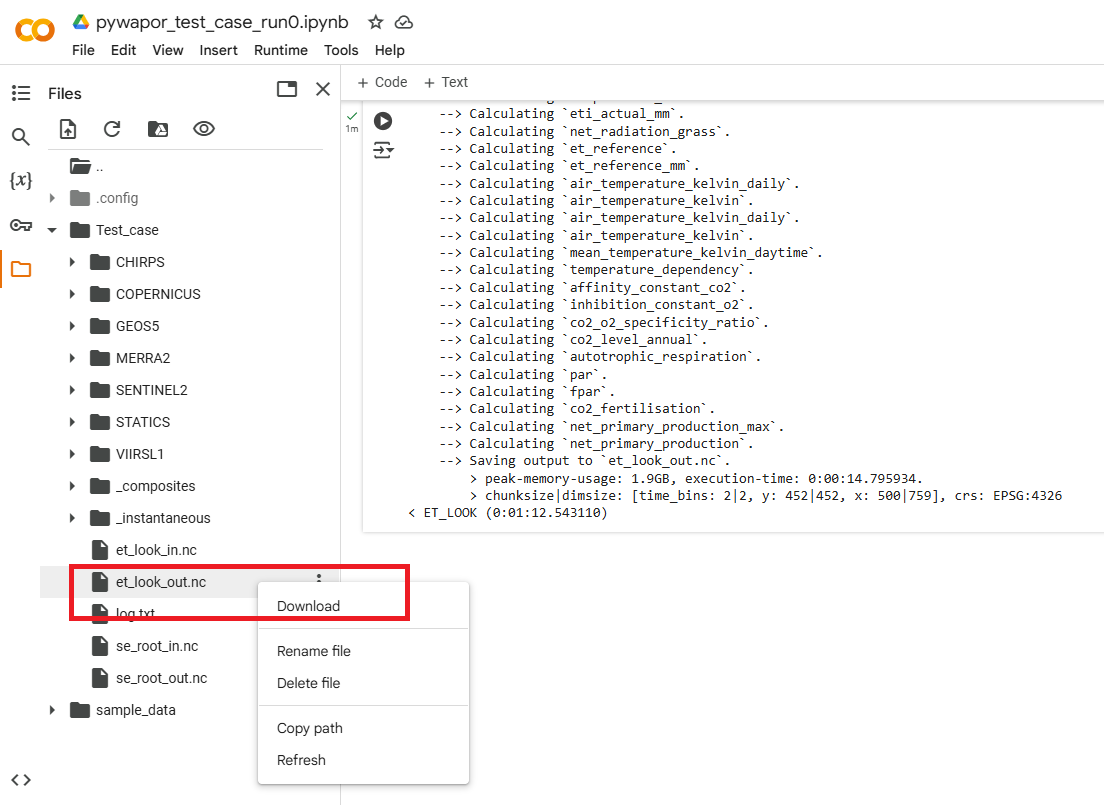
At the end of this exercise, you should be able to create a Jupyter notebook like this example notebook , to run this notebook, and to get the output file of pywapor et_look_out.nc. Next, we will investigate this output file and discuss in the class.