Tutorial 3: Setting up pyWaPOR for your own case study
1. Create a new notebook for your project
After creating an python environment with pywapor and jupyterlab following the step in Tutorial 2: Installing Jupyter Notebook on your local computer, you are now able to open JupyterLab on your PC. In this step, you will create a new jupyter notebook for your own case study:
- First, open Miniforge Prompt and run this command line
mamba activate pywapor_env
- Then, change your working folder. We highly recommend to create a dedicated folder for each new project in a drive where you have sufficient available storage (e.g., D:\\pywapor). If you're in C: drive, you will first need to switch to D: drive using the command below:
D:
cd D:\\pywapor
- Run the command below to start JupyterLab
jupyter lab
Once the JupyterLab interface is opened in your web browser, Click on the "Python" tile under "Notebook" in "Launcher" tab to create a new notebook.
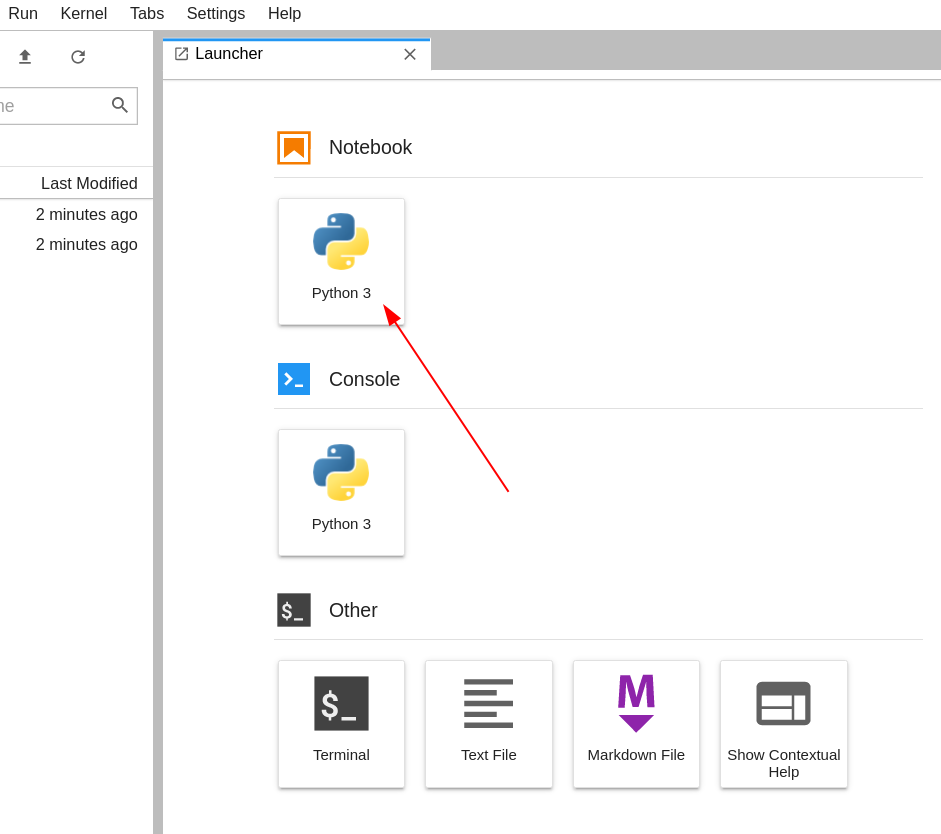
(© Copyright CodeRefinery team)
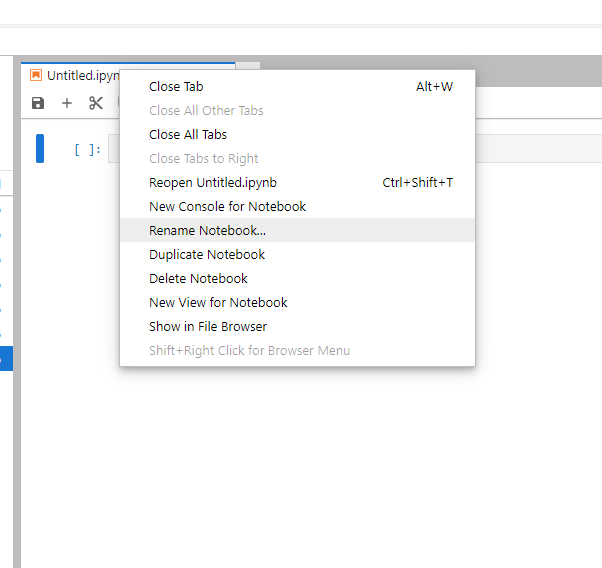
You will see a new notebook named "Untitled.ipynb". To change the name of the notebook, right-click on the tab and select "Rename Notebook..."
Enter the name of this new notebook (e.g., "Run pywapor case study.ipynb") and click "Rename".
In the first code cell, import pywapor package by running this codeimport pywapor