Tutorial: Remote Sensing Image Classification with QGIS
متطلبات الإكمال
5. Using the Semi-Automatic Classification Plugin
5.1. Install the SCP Plugin
Let's first install the SCP plugin. In this tutorial, we use an improved version of the plugin that has not been released yet. The developers of the AI Segmentation by TerraLab plugin have improved the installation of dependencies. Therefore, we need to install the plugin from a zip file.
- Download the zip file here or from the main course page.
- In the main menu, go to Plugins | Manage and Install Plugins....

- In the dialog, click the
 tab.
tab. - Click
 to browse to the downloaded zip file.
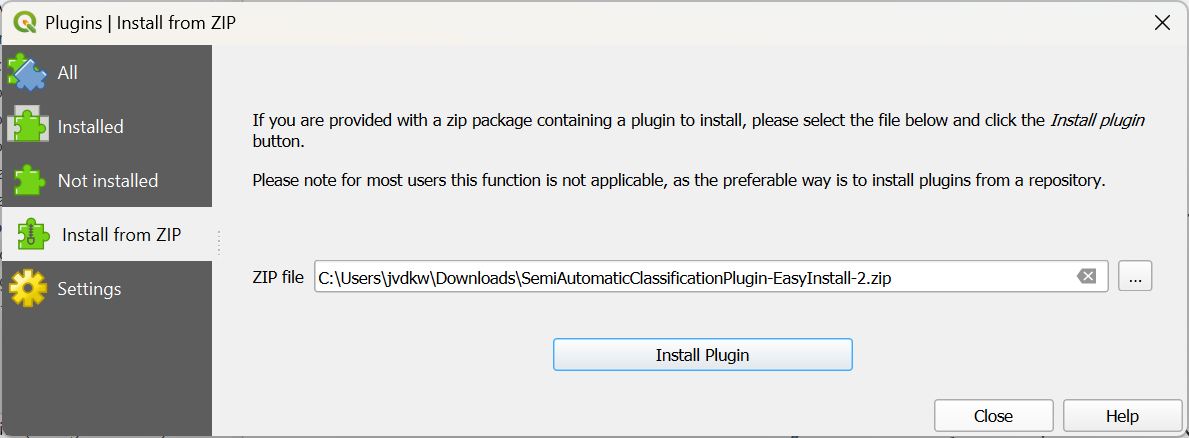
- Click Install Plugin.
- Click Yes in the popup that appears.
- Wait until the message appears that the plugin has been installed and click Close to close the dialog.
- In the dialog that you find behind the one you have closed, click Install Dependencies.
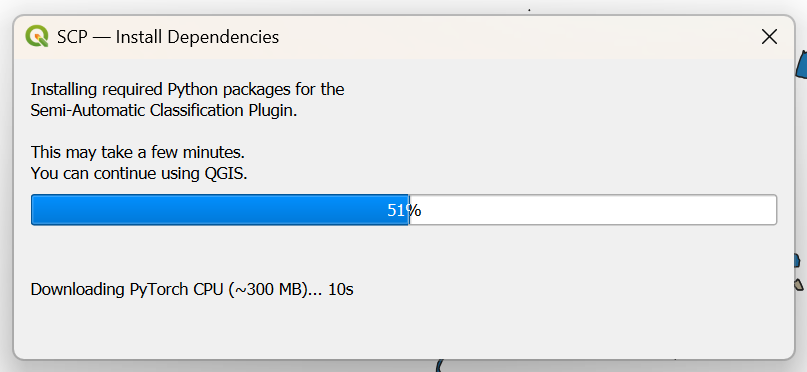
- Wait until the message that the installation is completed and click OK.
- Restart QGIS (save your project if you haven't done that yet).
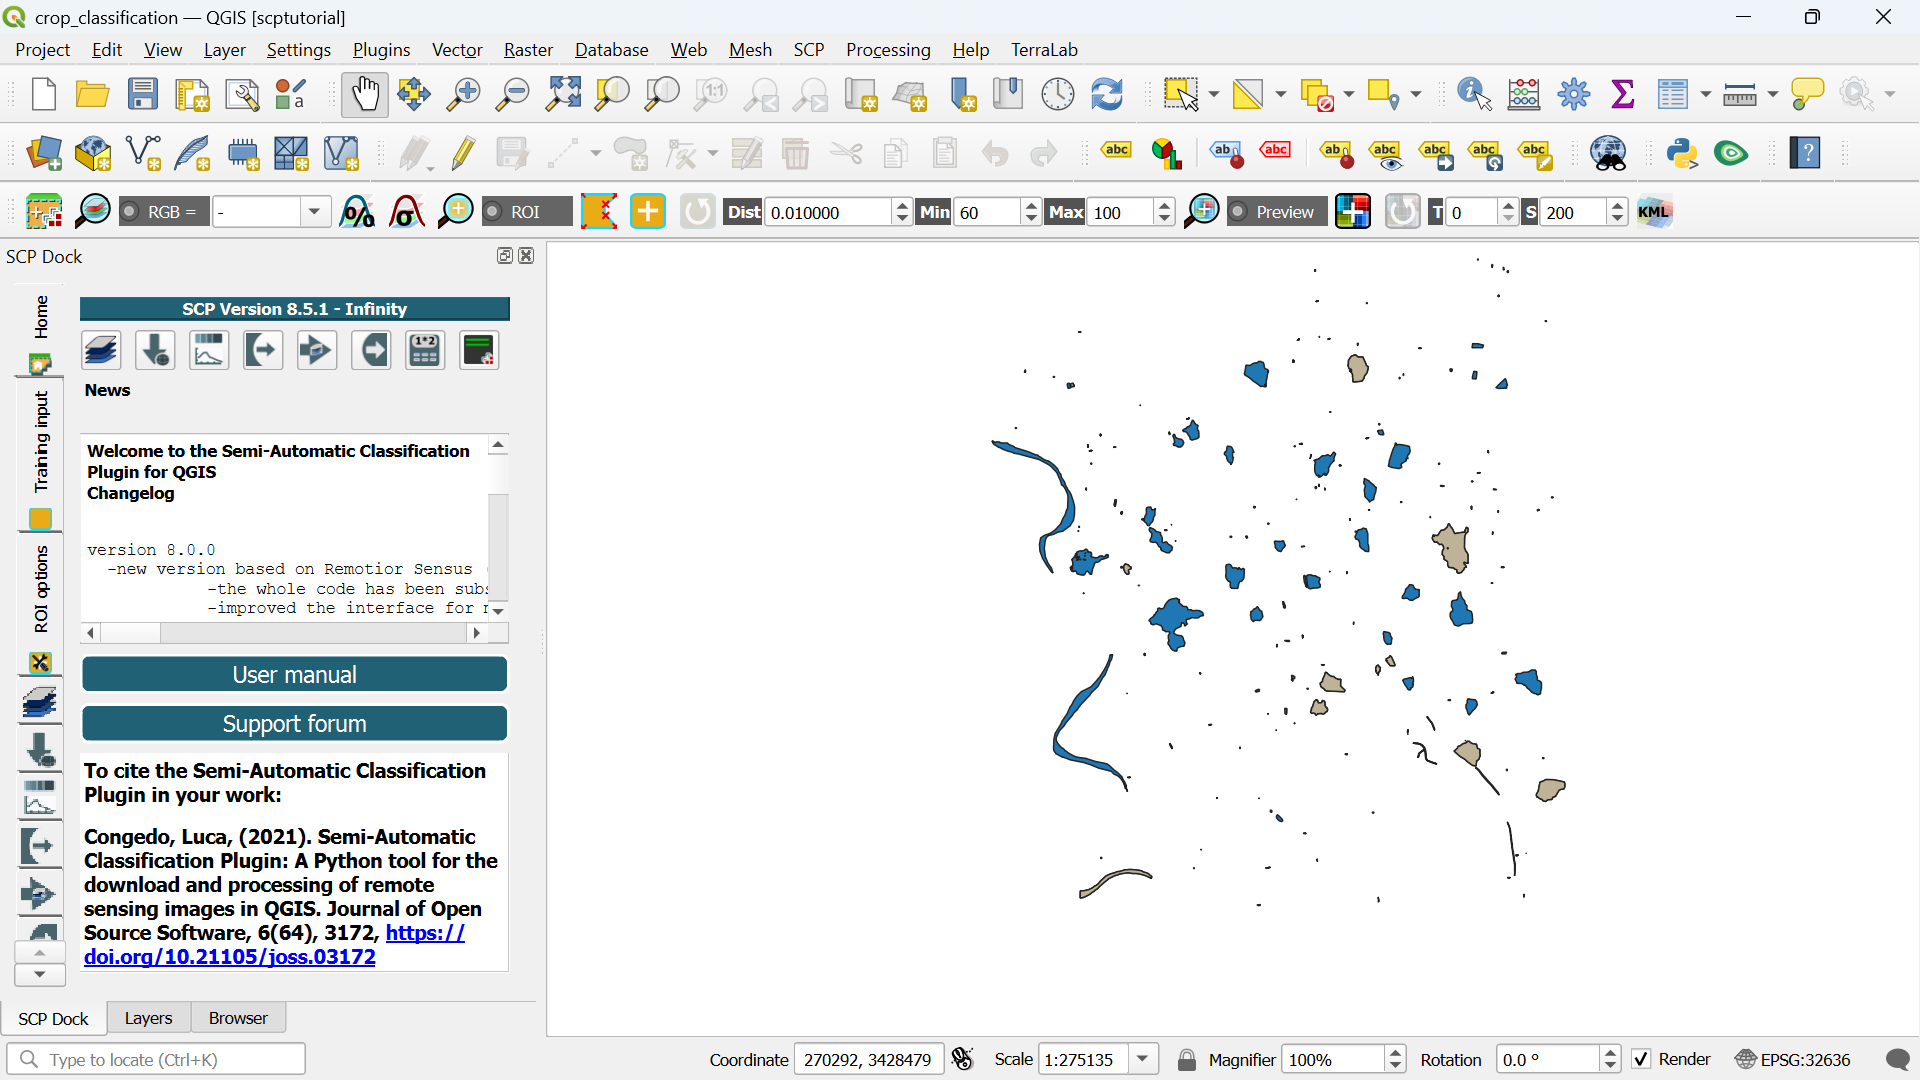
After restarting you'll find new panels and icons of the SCP plugin, which turns your QGIS in remote sensing software!
You can rearrange the panels a bit so they are in tabs on left side of the QGIS window.
In the next section, we'll download a Sentinel 2 image that we're going to classify.