Tutorial 1: Installing Jupyter Notebook
For running pywapor locally on your laptop, you need to install Python program and install pywapor package in your python environment. This can be done in several ways, however, we recommend you use Mamba package manager, because it is fast, robust, and cross-platform.
Once you have python and pywapor installed, you can run pywapor model through Python console (command line interface). However, we recommend you to use Jupyter Lab interface. JupyterLab is a web-based interactive development environment for notebooks, code, and data. It will allows you take notes, interact with you python scripts and save the outputs in digital notebooks.
In this book, we will take you through the steps to install python and python packages on your PC. The instructions are adapted from GISOpenCourseWare
4. Create WaPORMOOC environment
If you like using jupyter lab, you may want to use it for the WaPORMOOC scripts as well, Now you have to create a different environment with the name wapormooc and install some useful packages such as matplotlib, jupyter lab, pycrs, numpy and git .
1. At the Miniforge Prompt type the following command and press <Enter>:
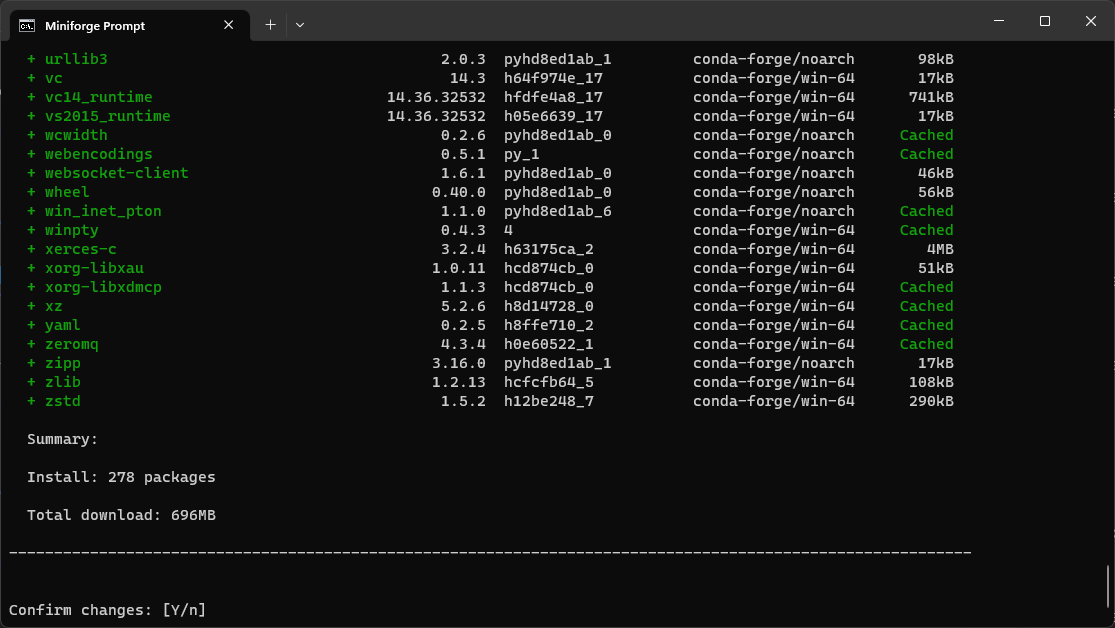
mamba create --name wapormooc qgis matplotlib jupyterlab pycrs numpy gitMamba will look for the packages.
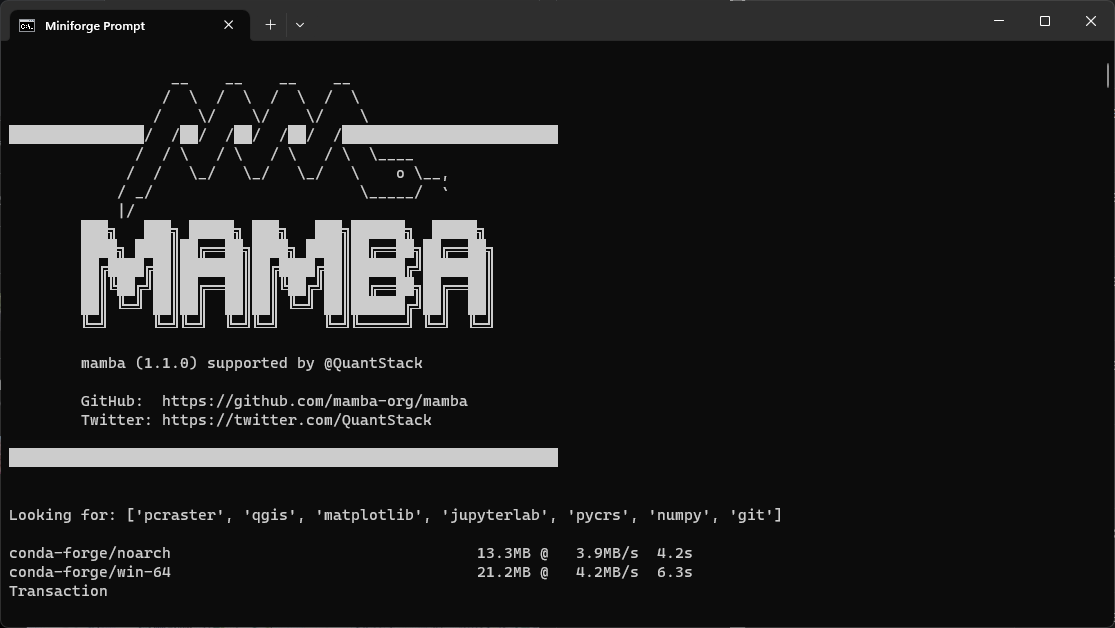
2. Confirm the changes by typing Y.
When the packages are downloaded and installed Mamba will tell you how to activate the environment:
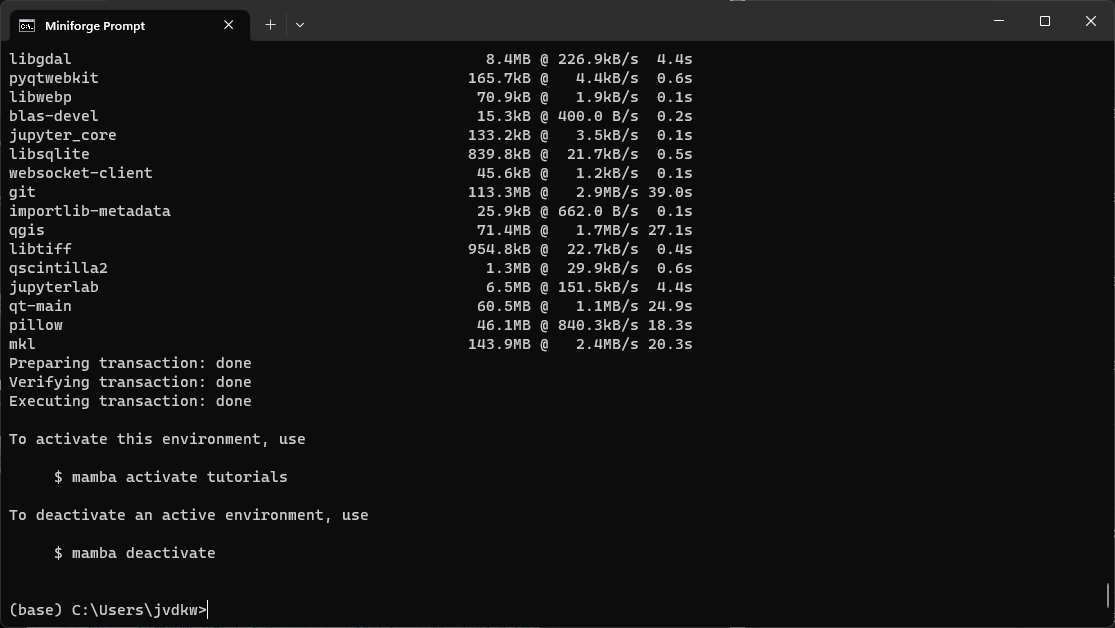
3. Activate the tutorials environment by typing:
mamba activate wapormoocYou'll use this command in the future every time you start a new Miniforge prompt in order to use the wapormooc environment.
In the next subchapter you'll learn how to clone the WaPORMOOC repository with tutorials from the GitHub repository.