Tutorial 2: Running pyWaPOR for test case
The instructions provided here will assist you in setting up pyWaPOR for a test case (to ensure the environment and notebook are properly set up) and to run the test case and investigate the output file.
2. Create a new Jupyter notebook to run pyWaPOR
After creating an python environment with pywapor and jupyterlab following the step in Tutorial 1: Installing Jupyter Notebook, you are now able to open JupyterLab on your PC. From now, when you want to open JupyterLab, you will need to:
- Open Miniforge Prompt and run this command line
mamba activate pywapor_env
- Then run the command below to start JupyterLab
jupyter lab
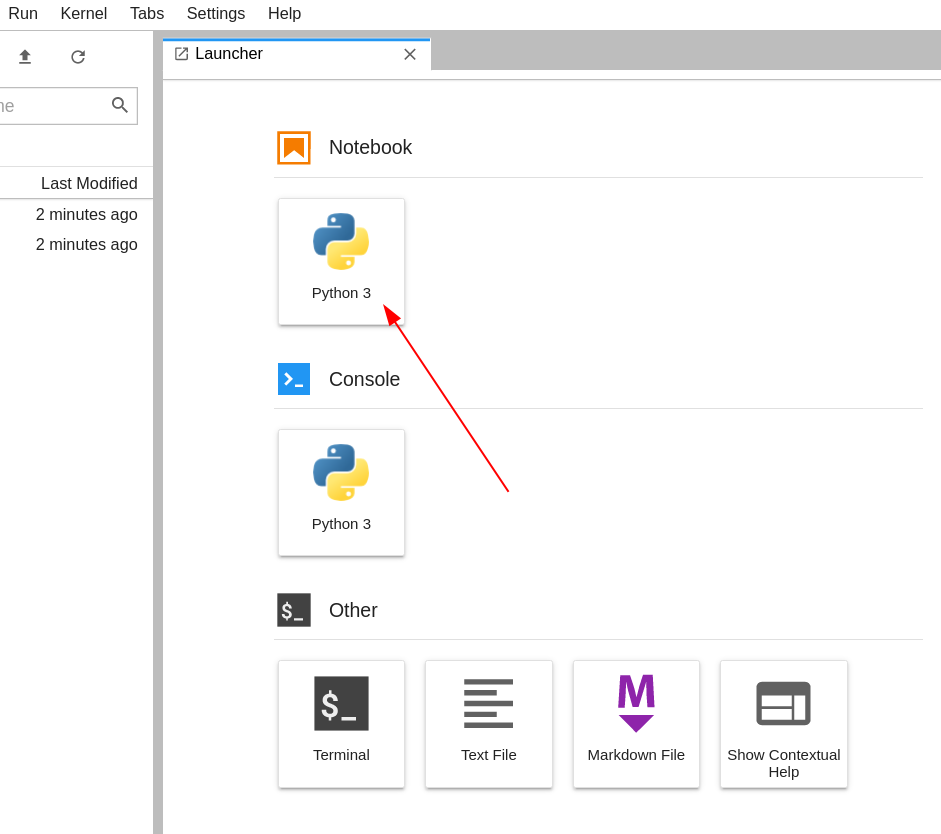
Once the JupyterLab interface is opened in your web browser, Click on the "Python" tile under "Notebook" in "Launcher" tab to create a new notebook.
(© Copyright CodeRefinery team)
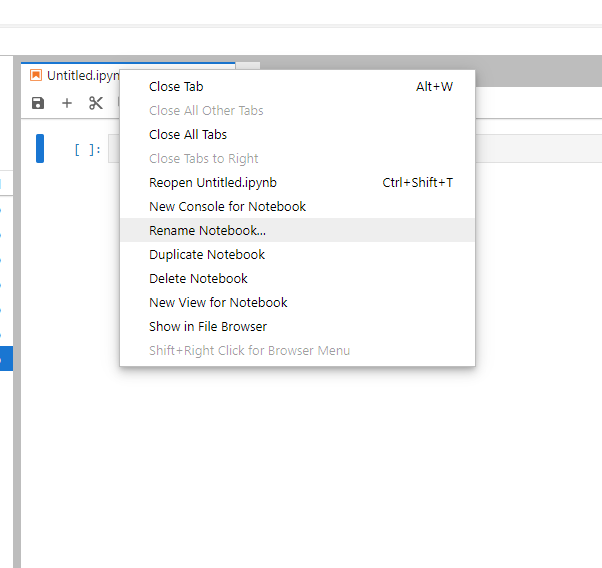
You will see a new notebook named "Untitled.ipynb". To change the name of the notebook, right-click on the tab and select "Rename Notebook..."
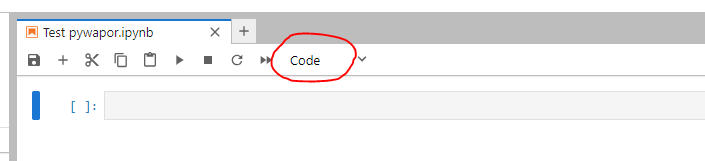
Enter the name of this new notebook (e.g., "Test pywapor.ipynb") and click "Rename".
Let's first have a look at the components in JupyterLab interface. See below for the explanation of its components.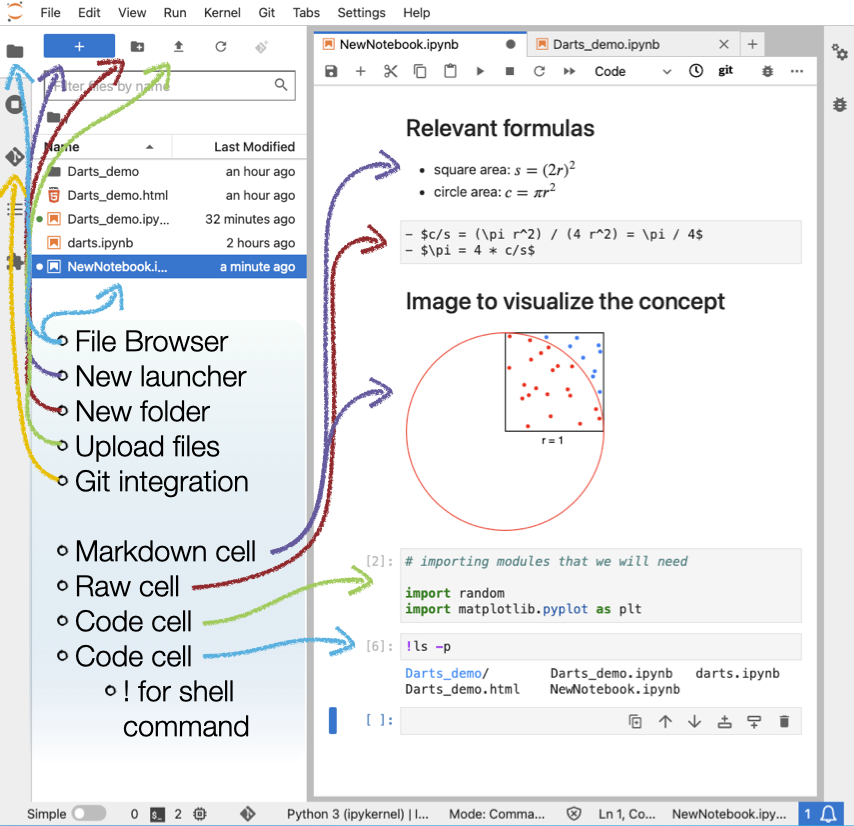
(© Copyright CodeRefinery team)
Markdown cells contain formatted text written in Markdown, a lightweight markup language for creating formatted text using a plain-text editor.
Raw cells contain raw text.
Code cells contain code to be interpreted by the kernel (e.g., Python, R, Julia, Octave/Matlab…). In this case, we are using Python kernel.
In the "Next" page, you will learn how to run pywapor for a test case in this new notebook.